
Fall is one of my favorite seasons. There’s just something about the changing leaves, the smell of a fire burning in the air and cozying up in chunky fall sweaters and boots that makes me feel all warm inside.
I welcome the changes in every season, but fall inspires new levels of creativity and especially DIY recipes. Maybe it’s because the summer season has come to an end and we’re less busy…slowing down. That leaves more room for self care and to pause and enjoy the surroundings.
Whatever the reason, I always take some time to stock up on some of my favorite fall recipes for sprucing up around the house or making a tasty treat for the family. Here are some of my favorite recipes.
1- DIY Fall Recipe: Natural Cold and Flu Remedy

You feel it coming on. That tickle in the back of your throat that is a clear indication that you’re about to come down with a cold…sore throat, stuffy nose and all. Even though it does boost your immune system long term, colds are a drag and nobody wants to feel sick – especially during the fall and winter holidays.
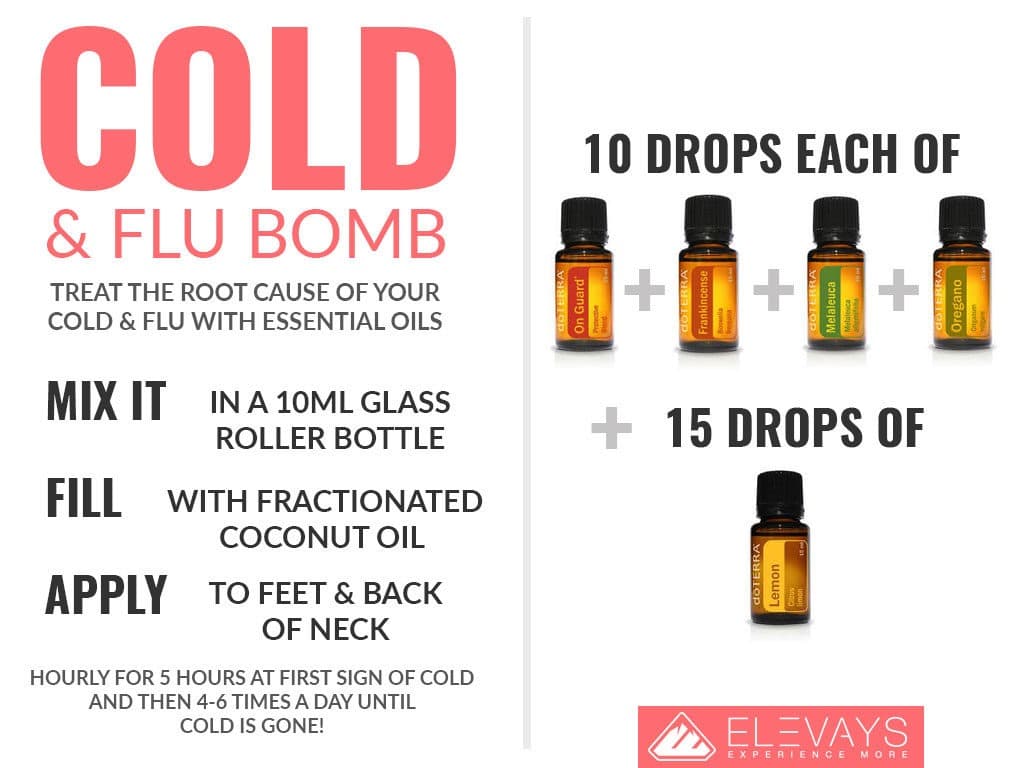
Instead of waiting around for that tickle in your throat to develop into a nasty cold, there are things you can do. The first thing is to whip up a batch of essential oils that are designed to bust bacteria, boost your immune system and knock out any pathogens that could cause a cold later on.
It only takes a few minutes to prepare this, but my suggestion is to do it now (when you’re feeling great) instead of waiting until you’re not. At that point, you may not have the necessary supplies and you might talk yourself out of doing it.
If you’re wondering if it works? It does – provided you have highly pure and potent essential oils, you can either count on not getting sick at all or recovering in a much faster time frame than you would’ve had you not prepared this concoction.
So, why does it work?
It all has to do with the essential oils in the blend:
Onguard Essential Oil is a protective oil helping to boost the immune system against harmful pathogens and bacteria. I also find this oil to be very energizing!
Frankincense Essential Oil works at the cellular level to heal and repair cell damage. This is essential for overall health and wellbeing including high immune system function.
Melaleuca Essential Oil busts bad bacteria and microbes and I think of it as nature’s antibiotic.
Lemon Essential Oil purifies and gently removes impurities from the body.
Oregano Essential Oil has 5 active properties antibacterial, antifungal, antiviral, anti-parasite and antioxidant – that make it effective against many environmental threats and harmful microbes.
Make the DIY recipe below and apply 4 to 6 times a day until all signs of your cold are gone!
2- DIY Fall Recipe: Homemade Bone Broth
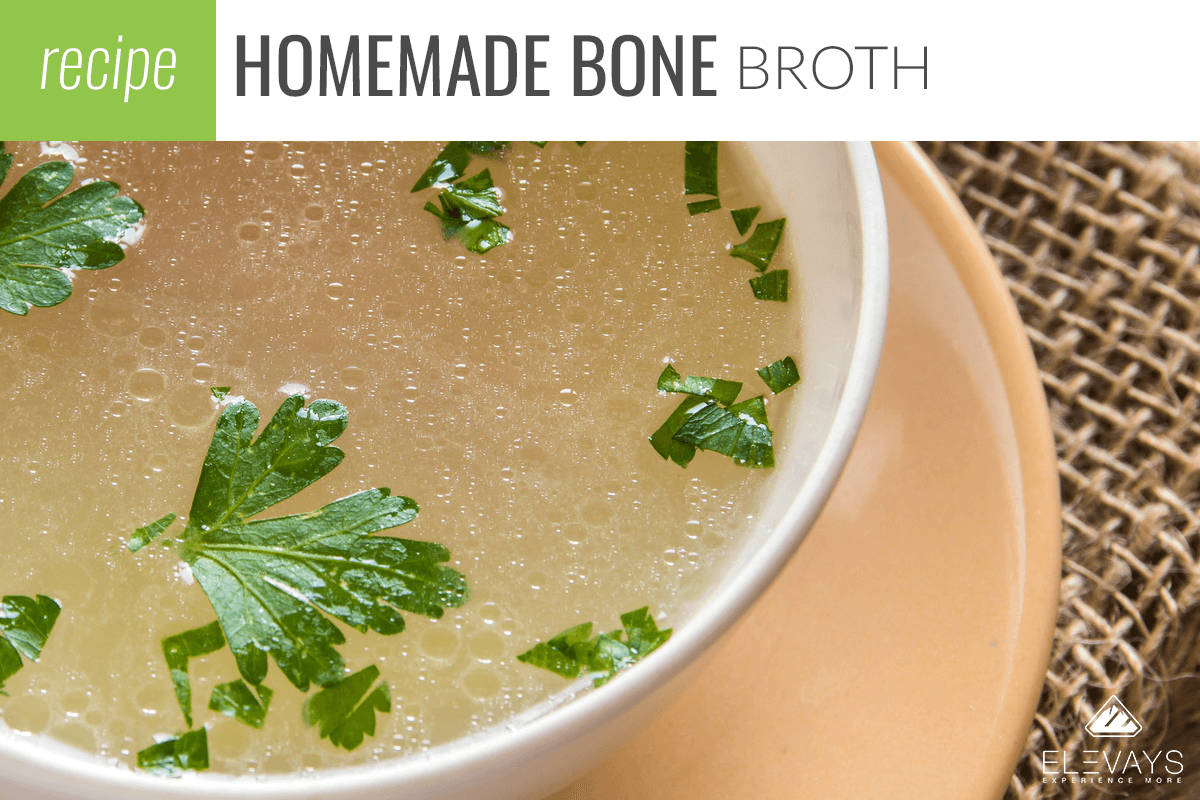
Another great cold and flu remedy – and a fall recipe that I always have on hand – is bone broth. The benefits of bone broth are numerous, but here are some of the highlights
- Boosts your immune system to protect against harmful bacteria and pathogens
- Nourishes the body for health and wellbeing and to overcome illness, like cold and flu
- Nutrient dense – bone broth is packed with minerals and nutrients that promote overall health and wellbeing
- Protects and supports a healthy gut; also beneficial in gut healing and promoting gut friendly bacteria
There’s typically 2 types of bone broth that I make: beef broth and chicken broth. The quality of the bone broth is totally dependent on the quality of the bones that you’re using.
For chicken broth, you want bones from organic chickens whenever possible. For beef broth, you want bones from organic, grass fed cows whenever possible.
When I’m making beef broth I get beef knuckle bones from my grocery store (they are from grass fed cows) and I roast them with onions, carrots, celery and garlic for about 30 min to 1 hour (at 300 F) to develop the flavor of the broth.
Apple cider vinegar (ACV) is beneficial in this recipe because it helps to draw out the minerals from the bones (that’s what we want!). It also adds great flavor and has its own health benefits. If you don’t have an Instant Pot, I highly highly recommend it for making bone broth. It cuts down the time substantially.
Typically, bone broth needs to simmer for 12 to 24 hours and that’s a looooong time to babysit a stovetop pot. My best recommendation is to invest in an instant pot because you can shave about 22 hours off that time frame.
Because of Instant Pot’s pressure cooker function you can get bone broth in about 3 hours without compromising its quality. Not to mention it does pretty much everything…slow cooker, rice cooker, pressure cooker, chili cooker…the list goes on. Get one! You will be so happy you did!
PrintHomemade Bone Broth
Description
SPECIAL EQUIPMENT:
Large pot with a lid or Instant Pot
Ingredients
- 1 chicken carcass
- 1 tbsp. apple cider vinegar
- Pure filtered water
Instructions
- Transfer the chicken to a large pot. If you’re using the instant pot, place the chicken carcass inside the stainless steel pot.
- Add your tablespoon of apple cider vinegar and cover the carcass with filtered water. You want just enough water to cover the bones and not too much more.
- Wait 30 minutes to allow the apple cider vinegar to pull the minerals from the chicken bones.
If you’re using a regular pot:
- Bring the water to a boil and then reduce the heat to a very low simmer. You want it to almost barely be simmering. If the heat is too high and it’s simmering too much, you’ll run out of water or be left with very little broth. So make sure it’s a low simmer.
- Cover with a lid to ensure that you don’t “lose” too much water to evaporation. You’ll simmer the water for 12 to 24 hours.
- Since I don’t recommend simmering overnight while you’re sleeping, I usually turn the stove off and then resume simmering the broth again the next day. If you want to shave off a lot of time (and eliminate the stovetop babysitting) see below.
If you’re using the Instant Pot:
- You can use the “Soup” setting to make the broth using the pressure cooker function.
- First make sure that the valve is set to “Sealing.”
- Then, all you need to do is press “Soup” and adjust the heat to low and set it for the max time (120 minutes). Because of the amount of water it’s probably going to take a good 20 to 30 minutes for the Instant Pot to reach the right pressure before the timer starts counting down.
- Once it’s finished cooking you can allow the pressure to release naturally for 10 minutes (that means you do nothing) and then you can switch the valve to “Venting” to allow for quick release of the rest of the pressure.
Final Step:
- Once the liquid is cool enough to handle, strain out the bones and transfer to large glass mason jars for storing. Enjoy making soups and stews with your homemade broth!
Notes
Quick Tip: I always use my instant pot on the stove top to protect the underside of my cabinets from steam that can damage and warp the wood over time. I simply place a cutting board on the stovetop to have a flat surface and then set the instant pot on top of it. It’s also convenient when releasing pressure because I can turn on the vent hood to eliminate steam.
3- DIY Fall Recipe: Essential Oil Cuticle Blend
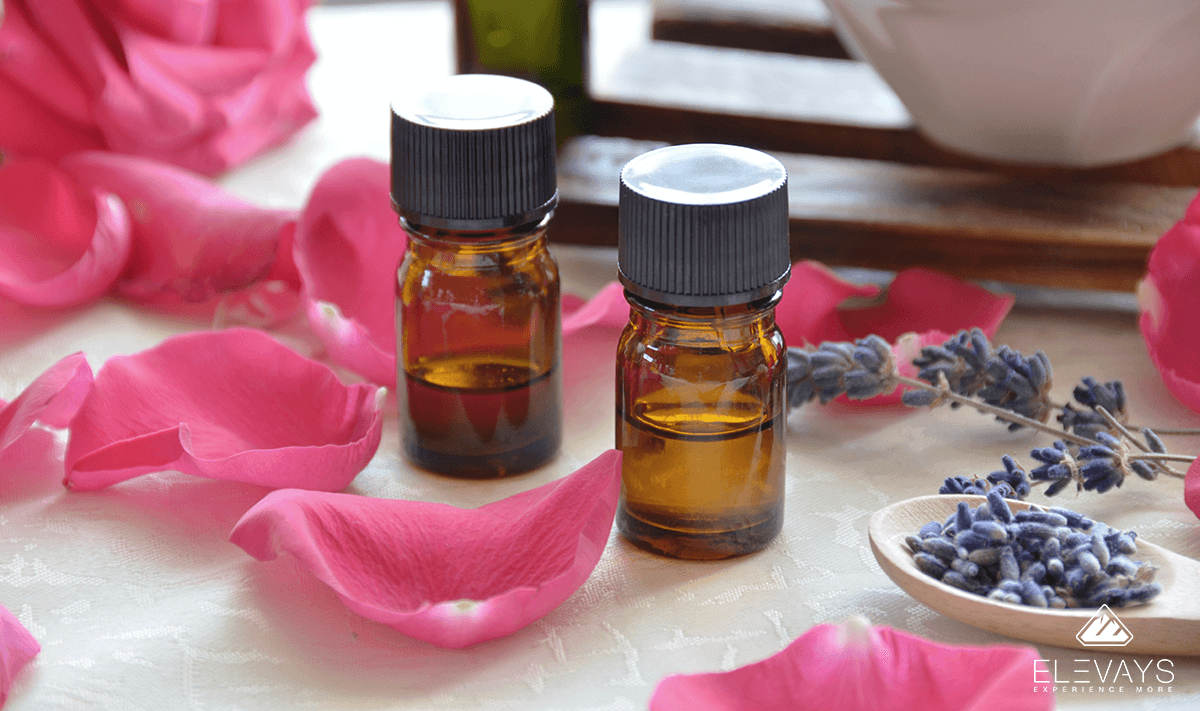
Now that we’re in the cooler seasons of the year it’s prime time to up your moisturizing game. Since we’re all about natural strategies we put together a great cuticle oil blend that will keep your hands looking beautiful and moisturized throughout the cold winter months. Plus, it’s easy to put together!
We’re using frankincense and sandalwood essential oils. Frankincense helps to repair skin at the cellular level (which is why it’s so great for anti-aging) and sandalwood is a hydrating essential oil that helps to lock in moisture. Almond oil is rich in Vitamin E which our skin LOVES and it helps to heal chapped and chaffing skin.
PrintEssential Oil Cuticle Blend
Ingredients
- 1 roller ball
- Sweet Almond Oil
- 3 drops of Frankincense Essential Oil
- 3 drops of Sandalwood Essential Oil
Instructions
- Add the drops of essential oil to the roller ball container.
- Fill the rest with sweet almond oil.
- Replace the lid of the rollerball and lid to the rollerball container. Shake to mix the ingredients together.
- To use, roll on your cuticles (on hands or feet) and massage in to replenish moisture and prevent cracked cuticles and hang nails.
4- DIY Fall Recipe: Beat the Fall & Winter Blues Diffuser Blend
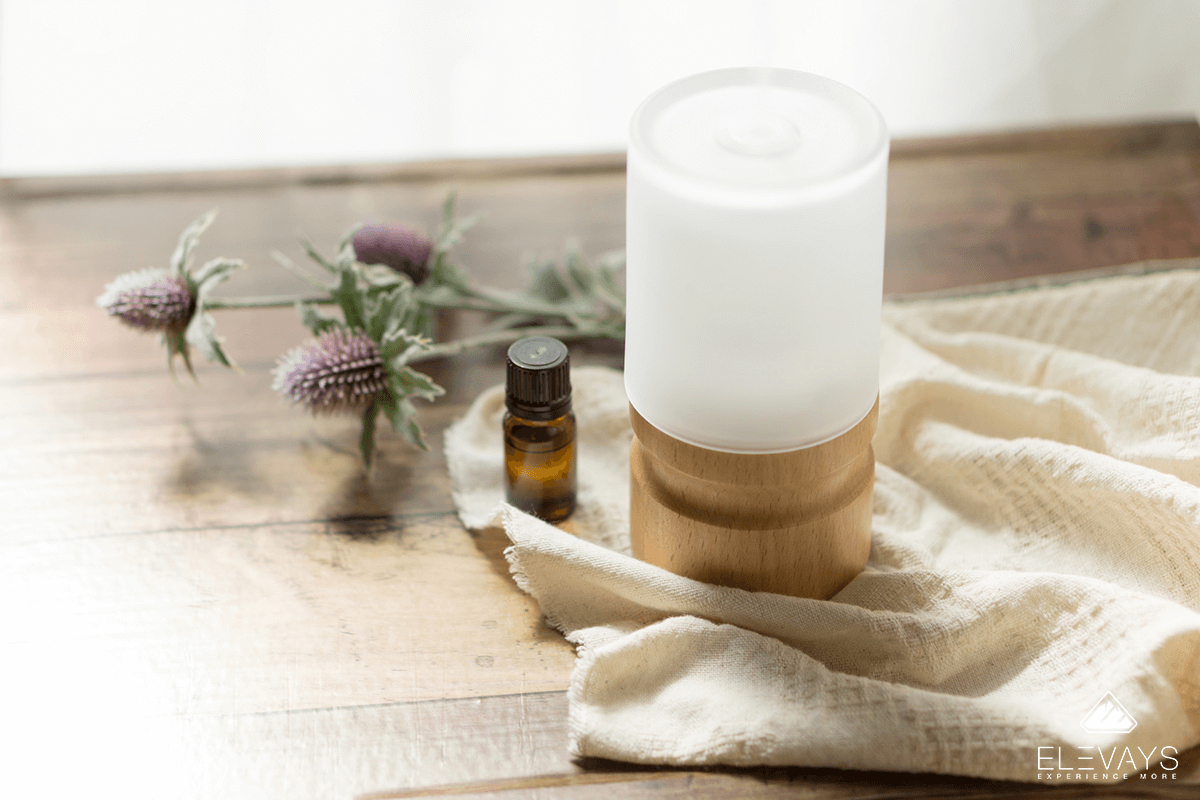
When it starts to get really cold and sunlight is sparse the fall and winter months can start to feel like a drag. I love essential oil diffuser blends because of their ability to change the environment in a room. In a matter of seconds, you can create the ideal environment to suit your mood.
Whether you want to relax and experience peace, or feel energized and vibrant there are many essential oils that can take you there. The diffuser blend below is one of my absolute favorites because it’s energizing to me in a way that’s calm and steady – if that makes sense.
The Siberian Fir adds an earthy tone to the aroma, while the Melissa adds a little punch. Bergamot, for me, is the perfect mix of a relaxed kind of energy. And I love that. I diffuse this especially in the fall and winter when I need a boost of energy or a pick me up. It also doesn’t hurt that the essential oils help to boost immune system function which is always a welcome support in the fall and winter months.
PrintBeat the Fall & Winter Blues Diffuser Blend
Ingredients
- 5 drops Siberian Fir
- 4 drops Bergamot
- 2 drops Melissa
Instructions
- Add all drops to the diffuser and fill with water according to your diffuser instructions. Keep in mind that all diffusers are different and require different amounts of essential oil.
Notes
Please adjust drops and amounts based on the what is recommended with your diffuser.
5- DIY Fall Recipe: Sweet Potato Pie
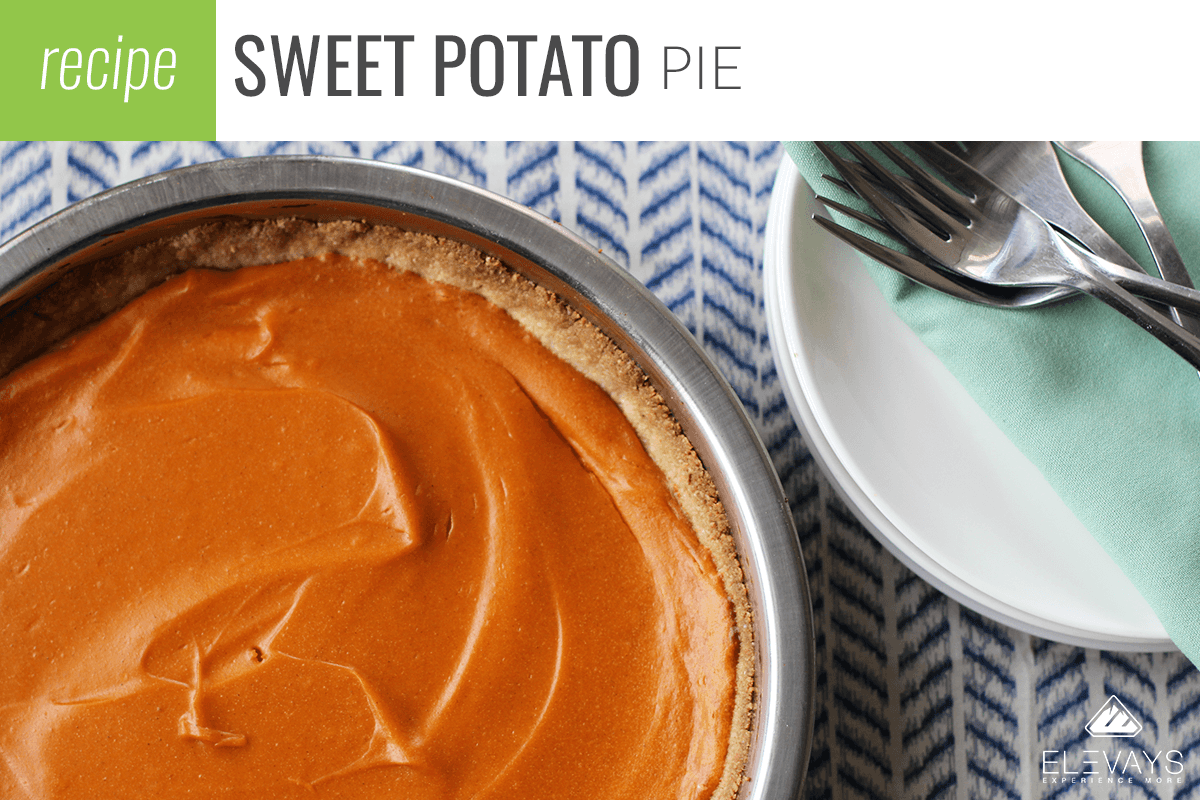
Some people save this one for Thanksgiving, but I happen to think that a good sweet potato pie is perfect any time. Being married to a Canadian I often get to celebrate two holidays. Canadians have Canada Day in July (similar to our Fourth of July) and they have Canadian Thanksgiving in the beginning of October.
Since Thanksgiving happens to be my second favorite holiday (after Christmas) I kind of struck gold by marrying a man where we can celebrate Thanksgiving twice. The first time we celebrated Canadian Thanksgiving in Canada with his family, I made a sweet potato pie.
They had never heard of it. I’m Southern born and I’ve been having sweet potato pie at Thanksgiving for as long as I can remember. This is one of my favorite recipes that I look forward to enjoy every fall and especially at Thanksgiving. The key is that you have to roast the potatoes. No boiling, no steaming…just roasting. It brings out the flavor and makes for a delicious pie.
Enjoy
PrintHomemade Sweet Potato Pie
Ingredients
Pie Filling
- 2 cups of sweet potatoes (roasted and peeled)
- 1/4 cup maple syrup
- 1/4 honey
- ½ stick of melted butter (if you’re mixing in a high powered blender like a Vitamix there’s no need to melt it)
- 2 eggs
- 1 tsp. vanilla extract
- ¼ tsp salt
- ½ tsp cinnamon
- ¼ tsp ground ginger
- 1 tsp lemon juice
Instructions
Crust
- If you don’t want to make the crust, just use a gluten-free crust of your choice. That’s what I almost always do.
Pie
- Roast your sweet potatoes at 350* F until soft and tender. Roasting is important to bring out the flavor.
- Make your pie crust according to package instructions or bake if you’re using a recipe. If you’re using a frozen crust, there’s usually no additional steps. You’ll just pour the filling right in.
- Add all of the pie filling ingredients to a Vitamix, high powered blender or food processor. Blend until completely smooth, using the tamper to scrape the sides of the blender jar as needed.
- Pour the mixture into the pie crust (let the crust cool first if you baked yours) and place in the oven.
- Bake for 40 to 45 minutes at 350* F or until a toothpick inserted into the center comes out clean.
Whipped Coconut Cream
Ingredients
- 1 can of chilled coconut milk (best to chill it overnight or for at least several hours during the day)
- 1 to 2 tsp. Maple syrup
Instructions
- Open the chilled can of coconut milk. If it’s chilled long enough (I recommend overnight), the coconut fat will have separated from the water. The fat will be on the top and is white and creamy.
- Scoop it out into a bowl.
- Add sweetener to taste. I use 1 to 2 tsp of maple syrup.
- Whip with a fork to fluff it up and place a dallop on top of each piece of pie. Serve it up!
Notes
This is an option if you want to have a “whipped cream” feel and is best added to an individual slice. This is a lower sugar option to the Coconut Sugar Meringue.
Coconut Sugar Meringue
Ingredients
- 3 egg whites
- 1/4 cup coconut palm sugar
Instructions
- Beat the egg whites with a KitchenAid or electric mixer until soft peaks form.
- Continuing to beat, gradually add in the coconut palm sugar a tablespoon or so at a time (it will be 4 tablespoons total) until all of the sugar is mixed in.
- Spread the meringue across the entire pie and sprinkle with a bit of extra coconut palm sugar if desired.
- Put the pie back in the oven for 10 to 12 minutes. It will turn a golden brown color.
- Let it cool and then serve.
Notes
I didn’t post the Coconut Sugar Meringue in the photo because I made it after the fact in an experiment, but you can see a photo of it that I took with my iPhone here. It was so fluffy, gorgeous and delicious.


READ the Latest
Articles
Health Habits
Longevity
Health Habits