

When I met my husband Isaac here’s what I knew how to “cook”: toast, scrambled eggs and spaghetti. My cooking repertoire was so limited it was kind of embarrassing…in fact, I didn’t realize just how embarrassing it was until I was visiting Isaac and his mom and dad in Canada.
We were at his parents’ house discussing our pending move into Toronto. We were already married at that point and I had moved up to Canada for us to start our life in the “big city.” It had always been a dream of mine and since we were still waiting for Isaac’s green card (that was a long process) we decided to just enjoy the city while we had the opportunity.
His mom is probably one of the most generous people I’ve ever met…and she also has a ton of cooking experience. Isaac has many memories of all the great meals that she used to make when he was growing up.
As we sat around the kitchen table, his mom was busy rummaging through cabinets, looking for extra serving bowls and kitchen items that she could bless us with. She had accumulated a small collection of things in a bowl and she brought them over to the table for us to take a look at.
She went through each item one by one and Isaac and I were nodding our heads, “Yes, we need that. Thank you so much, mom.” At one point she held up one gadget in her hands – I had seen it before, but I was unsure of what it was…so I just asked.
“What’s that for?” I said.
“It’s a potato peeler,” she replied with a little chuckle. I could tell immediately that she was quite surprised that I didn’t know what it was…and I was quite embarrassed. It was still super early in my marriage with Isaac and I really wanted to impress her.
Thankfully, she is probably one of the sweetest women I have ever met and we’ve always had a good relationship. She didn’t hold it against me and we still laugh about it to this day.
I said all that because sometimes people think that good cooks just have “talent” in the kitchen or they just have “good cooking intuition” or “know what goes well together.” That’s not necessarily true.
I now consider myself a pretty good cook, but I didn’t get there because I just have some kind of “talent.” I learned how to cook delicious and healthful meals because I tried recipe after recipe from people that know how to cook really well.
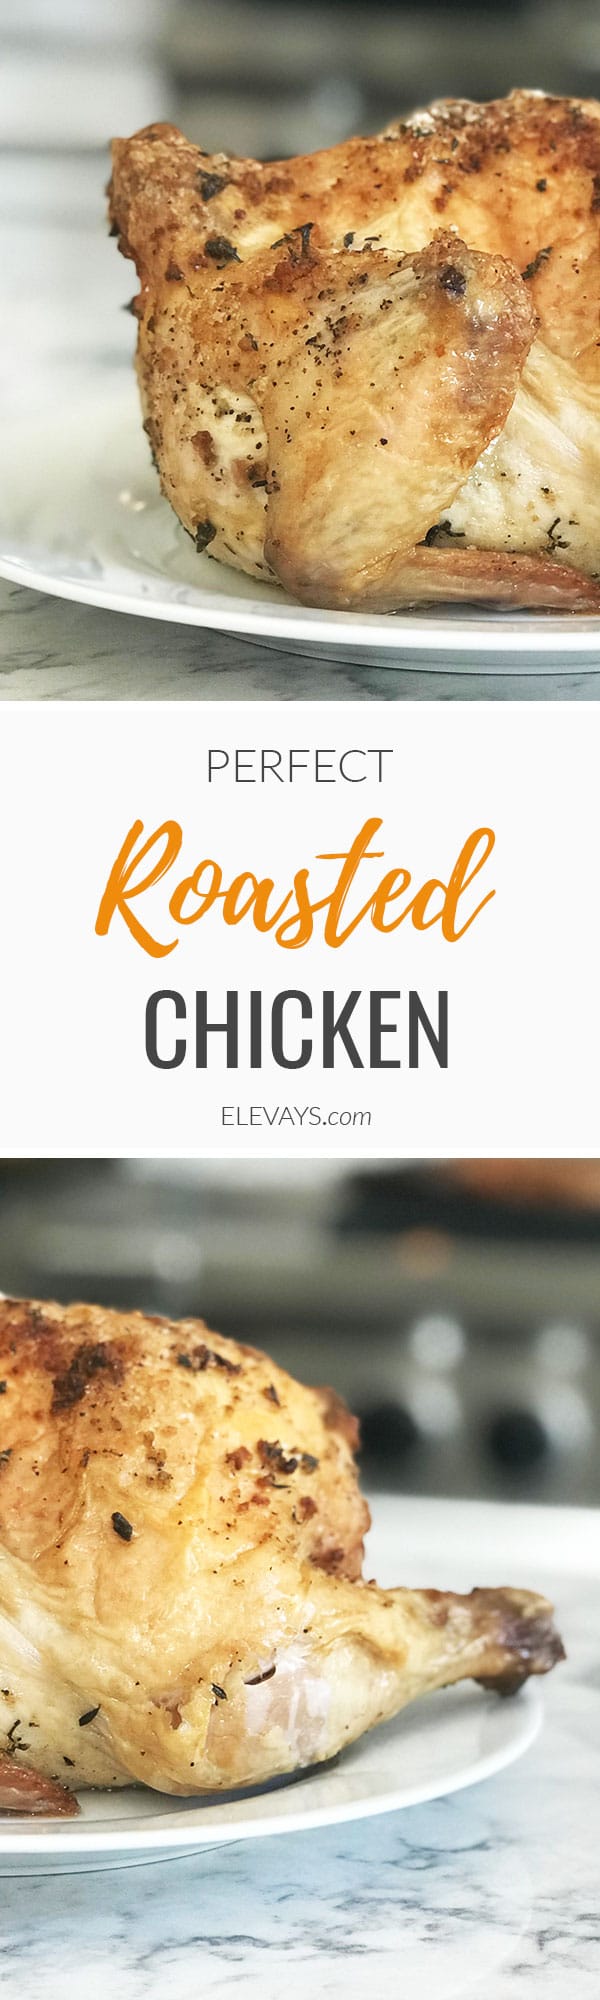
In fact, when I was in Canada for those 2 1/2 years that Isaac spent there I cooked a lot. I followed recipes, I bought weird ingredients, I learned how to blanch green beans, grate ginger and mince garlic. Things I never knew how to do before. And I also learned how to make the perfect roasted chicken.
So, if I can do it I know that you can too. And learning to make roasted chicken is one of the best places to start. This is a fundamental cooking skill that every cook should know (unless you’re vegan or something and then it’s pretty pointless).
The benefits of roasting a whole chicken are numerous. First, you get tons of meat for a better price than just buying chicken breast. You’ve got meat for leftovers, salads and all kinds of chicken dishes. This is super beneficial if you’re feeding a family of 4.
Second, you get both the white meat and dark meat. They both have their benefits. Some people find the dark meat to be more flavorful.
But the best part? You get the carcass – the bones. Why does anyone care about the chicken bones? Because you can make bone broth from scratch. This is probably one of the best things you can learn to make for your health and total well-being. And making it from scratch is waaaaay better than buying store-bought.
I mean, there’s nothing wrong with buying boxed chicken broth sometimes. If I’m in a pinch I’ll buy a brand of chicken broth with clean ingredients (it’s hard to find beef broth with clean ingredients though). Even still, making the bone broth from scratch at home ensures that the ingredients are pure, organic and freshly made.
Bone broth has loads of benefits, not the least of which, is supporting a healthy gut. It is also powerful for boosting your immune system and it’s also a rich source of minerals and nutrients.
There’s so much value in knowing how to roast a chicken and subsequently, make bone broth. And I’m going to show you how right now.
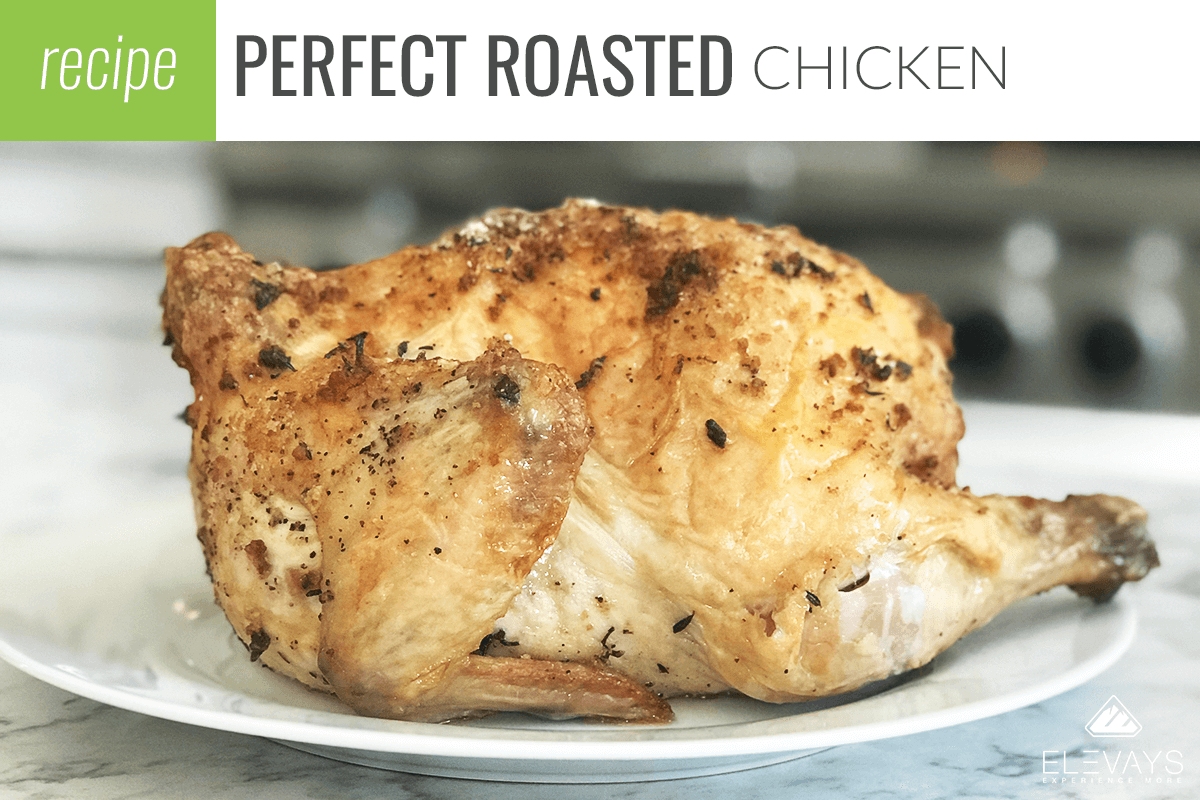
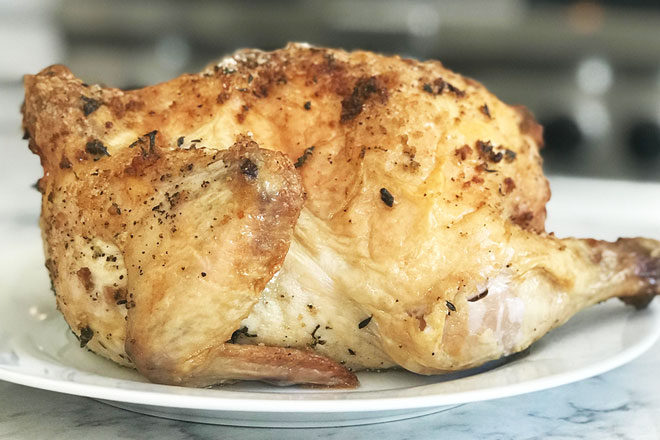
Perfect Roasted Chicken
- Yield: 4 People 1x
Ingredients
- 1 tbsp. lemon zest
- 1 tbsp. sea salt
- Pepper (to taste)
- 1 tbsp. of your favorite fresh herbs (rosemary, sage and/or thyme – minced – plus 2 to 3 extra sprigs of herbs)
- 1 1/2 lemons (quartered)
- 1, 2 to 3- lb. organic chicken
- 3 tbsp. avocado oil
Instructions
- Preheat your oven to 425* F.
- Combine the lemon zest, sea salt, pepper, minced herbs and lemon zest in a small bowl.
- Place the herb sprigs inside the chicken cavity along with the lemon chunks.
- Rub the chicken all over with the avocado oil and then rub the sea salt mixture into the chicken.
- Place the chicken in a roasting pan and roast in the oven at 425* for 15 minutes. This is to get the outside crispy.
- Turn the oven down to 350* and continue to roast for another 50 to 55 minutes.
- Remove the chicken from the oven and allow it to rest on a platter or cutting board for about 10 minutes before carving.
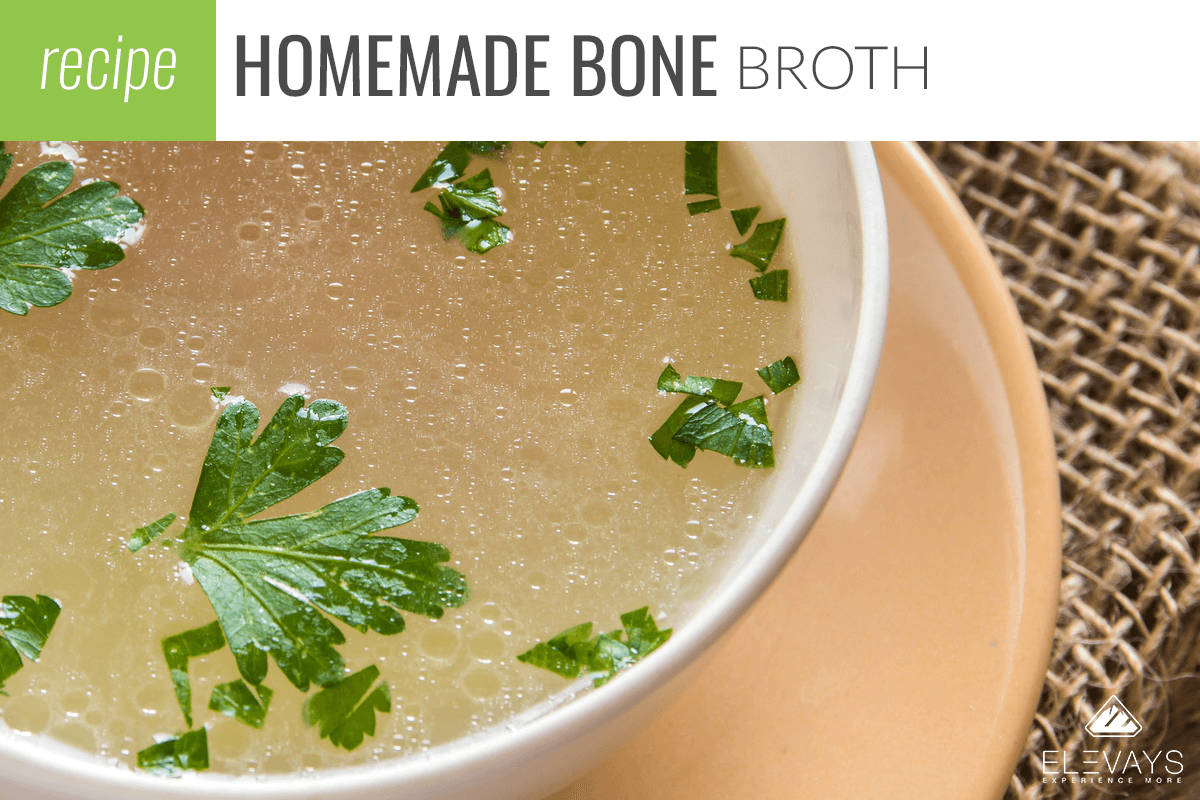
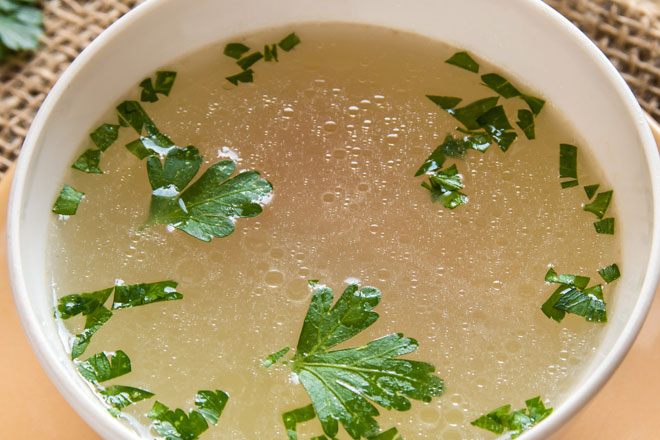
Homemade Bone Broth
Description
SPECIAL EQUIPMENT:
Large pot with a lid or Instant Pot
Ingredients
- 1 chicken carcass
- 1 tbsp. apple cider vinegar
- Pure filtered water
Instructions
- Transfer the chicken to a large pot. If you’re using the instant pot, place the chicken carcass inside the stainless steel pot.
- Add your tablespoon of apple cider vinegar and cover the carcass with filtered water. You want just enough water to cover the bones and not too much more.
- Wait 30 minutes to allow the apple cider vinegar to pull the minerals from the chicken bones.
If you’re using a regular pot:
- Bring the water to a boil and then reduce the heat to a very low simmer. You want it to almost barely be simmering. If the heat is too high and it’s simmering too much, you’ll run out of water or be left with very little broth. So make sure it’s a low simmer.
- Cover with a lid to ensure that you don’t “lose” too much water to evaporation. You’ll simmer the water for 12 to 24 hours.
- Since I don’t recommend simmering overnight while you’re sleeping, I usually turn the stove off and then resume simmering the broth again the next day. If you want to shave off a lot of time (and eliminate the stovetop babysitting) see below.
If you’re using the Instant Pot:
- You can use the “Soup” setting to make the broth using the pressure cooker function. First make sure that the valve is set to “Sealing.”
- First make sure that the valve is set to “Sealing.”
- Then, all you need to do is press “Soup” and adjust the heat to low and set it for the max time (120 minutes). Because of the amount of water it’s probably going to take a good 20 to 30 minutes for the Instant Pot to reach the right pressure before the timer starts counting down.
- Once it’s finished cooking you can allow the pressure to release naturally for 10 minutes (that means you do nothing) and then you can switch the valve to “Venting” to allow for quick release of the rest of the pressure.
Final Step:
- Once the liquid is cool enough to handle, strain out the bones and transfer to large glass mason jars for storing. Enjoy making soups and stews with your homemade broth!
Notes
Quick Tip: I always use my instant pot on the stove top to protect the underside of my cabinets from steam that can damage and warp the wood over time. I simply place a cutting board on the stovetop to have a flat surface and then set the instant pot on top of it. It’s also convenient when releasing pressure because I can turn on the vent hood to eliminate steam.

READ the Latest
Articles
Health Habits
Longevity
Health Habits
2 Comments