If I only ever knew how to make one thing from scratch…it would be bone broth. It’s hands down one of the best things you can do to promote your health and wellbeing.
Want an ironclad immune system? Drink bone broth.
Want radiant, glowing skin that ages well (hello collagen!)? Drink Bone Broth.
Want to improve digestion and nutrient absorption? Drink Bone Broth.
Want your kids to start acting right? Give them Bone Broth. 😛
You get the picture. Bone broth is a powerful food source that you should be using on a regular basis to improve your total health and wellbeing.
We get into all the details of a bone broth diet right here. But if you’re already convinced that you need to make a batch then let’s get right to it.
Traditionally, bone broth is simmered very slowly for long periods of time (I’m talking 12 to 48 hours). I’ve made bone broth that way many times…on stove top. And it’s not exactly convenient to babysit a simmering pot for 2 days straight.
So, I made bone broth sparingly. And this has kept a lot of people from even attempting to make it.
But the truth is, it’s really easy.
And thankfully, kitchen technology has improved so much that we can now make healthy, satisfying batches of bone broth without spending days (literally) in the kitchen.
I’ve personally used 2 different methods to make bone broth and I’ll share them both below.
Method 1: Pressure Cooked Bone Broth
I love my Instant Pot. LOVE it. If you have ever used one, you probably love it too. One of the first things I made in my instant pot is bone broth! I found an awesome site that gave instructions on how to make it and because I used the pressure cook function I made the broth in 3 hours instead of 24…or 48. That’s a huge win!
Ready made bone broth in a few hours? Sign me up! We had fresh batches of bone broth coming every week, practically.
And if you have an Instant Pot this is a perfectly fine way to make bone broth. I still love and use my instant pot regularly…
BUT I don’t make bone broth in it anymore.
The reason why is because of the nature of pressure cooking. See, there’s a reason why bone broth is simmered low and slow for long periods of time. That low, slow simmer helps to extract precious vitamins and minerals from the bones without overheating it.
Overcooking or overheating food can destroy nutrients and since we’re trying to preserve and extract nutrients from the bones this may reduce nutrient density of the bone broth. This is why I prefer using Method 2 for slow cooked recipes.
Method 2: Slow Cooked Bone Broth in the Vita Clay
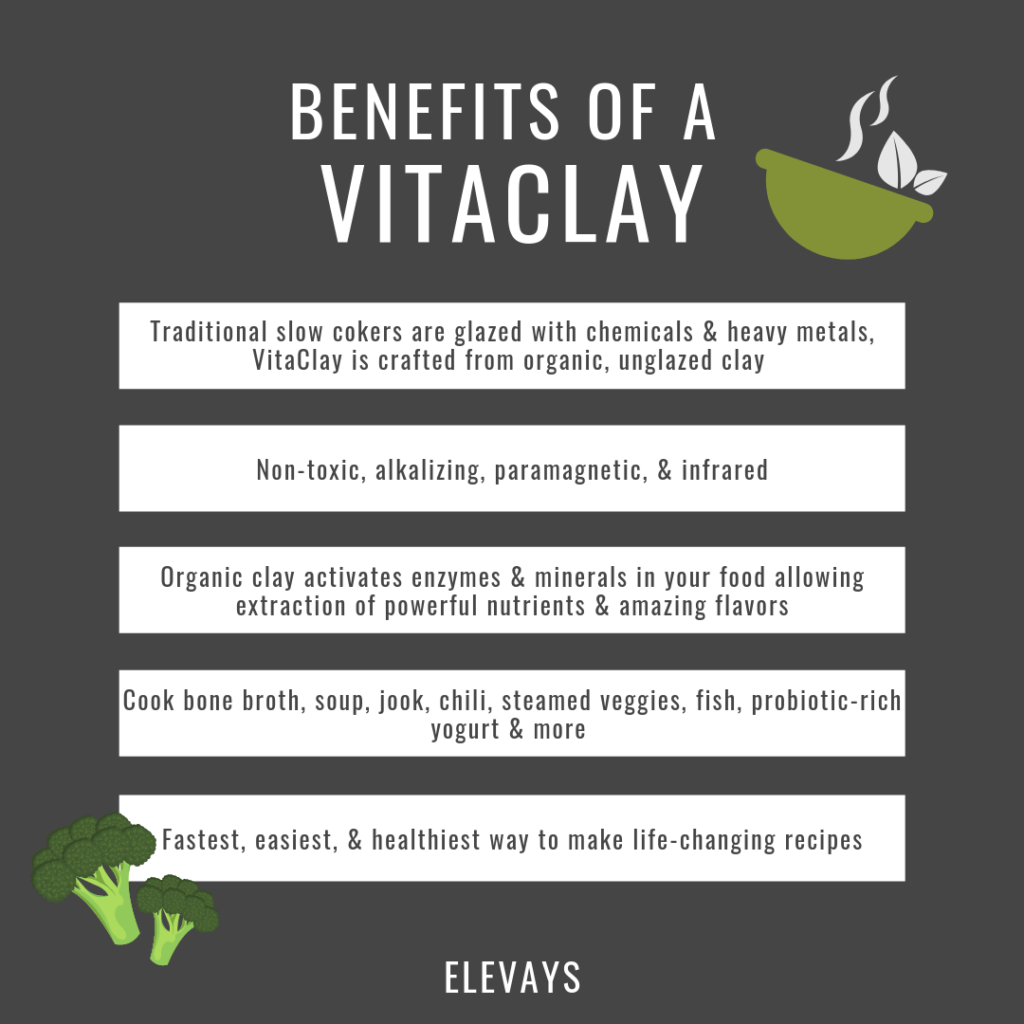
The VitaClay is my new favorite friend. This multi-function cooker has many great features, but it’s now my go-to for making bone broth.
The primary reason is that it cooks at low and slow temperatures (mimicking the effect of simmering on stove top) without taking forever.
Granted, using the VitaClay does take a bit longer than the Instant Pot – I usually cook the broth for 4 to 5 hours – BUT it’s a couple of hours that I can spare. I’m not typically making a batch of bone broth in a hurry and I do love the convenience of being able to set it and forget it.
What I also love about the Vita Clay Slow Cooker:
- No Lead Contamination – Most slow cookers have a dark glaze to prevent sticking. What most people don’t know is that these glazes often contain lead – a heavy metal and neurotoxin known to cause major health issues and weight loss resistance. Since the Vita Clay is unglazed and left in natural form I never have to worry about heavy metals in my food.
- Preserves Nutrients – The Vita Clay is awesome because it slow cooks recipes without overheating. This is due to its low thermal conductivity. As mentioned previously overcooking can destroy vitamins and minerals. With Vita Clay you’re actually preserving nutrients and increasing their absorption in the body.
- Cuts Down on Cook Time – Even though the VitaClay has lower thermal conductivity it “seals in” moisture to create the perfect balance of heat and nutrient preservation. The result? Time on recipes like bone broth go from days to just a few hours.
- No Chemical Treatments – Non-stick coatings are made from toxic chemicals that leach into your food when heated. I love that the Vita Clay is not treated with any chemicals whatsoever. It’s just pure Zisha clay, a non-toxic, lead-free ancient clay.
- It’s Alkalizing – By nature, the human body functions best in an alkaline environment. And by nature, with the world we live in, most people lean more acidic. I love that the Vita Clay helps to counteract this by naturally alkalizing my food.
- Simple to Use – The Vita Clay is super easy to use. Just use the menu feature to navigate to your preferred cooking method and adjust the time accordingly. All done!
- Easy to Clean – I like that the structure is very simple without odd cracks and crevices that food can get trapped in. Food bits are easily wiped away by washing with soap and water in the sink.
Both of these methods are game changers for making bone broth, but I think you can tell that my favorite way to make it is with Method 2 – The Vita Clay.
In the recipe below I’m going to give you the details on how to make bone broth using the Vita Clay. If you have an Instant Pot or want to make it on the stove top, refer to the recipe here (just scroll down to the bottom).
Print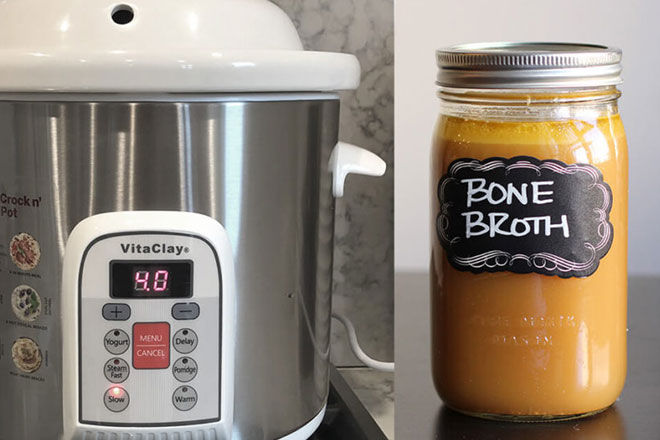
The Best Way to Make Bone Broth
- Total Time: 250 minutes
Description
SPECIAL EQUIPMENT: Vita Clay Cooker
Ingredients
- About 2 pounds grass fed beef bones
- Handful of baby carrots
- 1 onion, quartered
- 2 garlic cloves, peeled
- 2 ribs celery, chopped
Instructions
- Preheat the oven to 350 F. Arrange the beef bones and vegetables on a parchment covered baking sheet and roast for about 30 minutes. This brings out the flavor which is wonderful when you’re making soups and stews.
- When cool enough to handle add all ingredients to the Vita Clay. Be sure to scrape all the fat from the bones that was released on the parchment paper.
- Add a tablespoon of apple cider vinegar. This helps to release the nutrients from the bones and cover the bones and veggies with filtered water.
- Wait for about 30 minutes to allow the apple cider vinegar to work. Then, set the Slow Cooker to for 4 to 5 hours.
- When the cooker has cooled off for a bit, and the broth is cool enough to handle strain out the bones and vegetables and store in large mason jars.
- Prep Time: 10 minutes
- Cook Time: 240 minutes



how do you store the bone broth my glass bottle jar broke.
Hi there! Storing your bone broth in a glass bottle jar or glass container is what you should be using. If your bottle broke after pouring the bone broth into it, it was probably too hot.
The key is allowing the bone broth to cool first as pouring it in piping hot will cause the glass container to potentially break. Putting hot or even too warm jars directly into the fridge will also cause the glass container to potentially break. Let everything cool down enough to handle and that will help prevent your container from breaking from temperature stress.