Description
Helpful Supplies:
Parchment Paper
Basting Brush
Handheld Mixer or Standing Mixer
Ingredients
Scale
- 6 boneless skinless chicken breasts
- Extra Virgin Olive Oil (EVOO)
- Salt and pepper
Instructions
- Preheat the oven to 375 F.
- Brush the chicken on both sides lightly with olive oil. There’s no science behind the amount. You just want a light coat of oil on the chicken to add flavor.
- Season with salt and pepper to taste.
- Transfer the chicken pieces to a large baking dish.
- Take a large piece of parchment paper and place it over the chicken tucking it into the sides of the dish. This keeps the chicken from drying out and cooks it perfectly.
- Place the dish in the oven and roast for 35 to 40 minutes until cooked all the way through.
- Remove the chicken from the oven. When it’s cool enough to handle (but still warm) slice each breast into large chunks (3 to 5 pieces). Then transfer the chicken chunks to a large bowl or to the bowl of your standing mixer. You only want to do 4 to 5 chunks of chicken at a time.
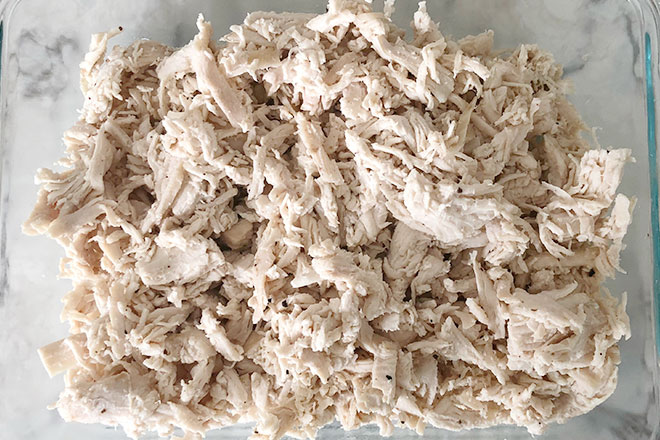
- Place the handheld mixer in the bowl and turn on low speed. If you’re using a standing mixer, the paddle attachment works best. Shred the chicken using the mixer until it’s nicely shredded up. Remove any “stubborn” pieces and shred manually. If chicken is flying out of your bowl using the handheld mixer try adjusting the speed or transfer the bowl to the sink and shred it there so that the “flyaways” land in the sink and not on your floor.
- Separate your chicken into the desired servings of your choice. I usually pack up 2 shredded breasts because that works well for our family of 4. If you’re single or have more mouths to feed pack the chicken up in a way that best suits your family’s needs.
- I wrap the chicken in parchment paper because I prefer not to place the food directly into the plastic ziplock bag. It may not be a big deal, but I do know that plastics are estrogenic and can leach chemicals into food over time and since we’re freezing this chicken for later use…well, I’d rather play it safe. You can also just freeze the chicken in glass containers that are freezer safe. We just don’t have the space for that yet!
- Be sure to label your chicken with what it is and the date you prepared it. To use, you can unthaw by placing in the fridge the night before. I’ve also made a water bath and placed the chicken in that to get it to thaw quickly. It takes maybe 15 minutes and you’ll have protein ready for dinner in no time!